When the ballast inside a fluorescent light stops working, the light stops working. If your lights are flickering or not working at all, testing the ballast with a multimeter is a fast and dependable way to figure out what’s wrong.
To test a fluorescent light ballast with a multimeter, first turn off the power. Take the light fixture down. Then use your multimeter to check for continuity and voltage output.
Testing a ballast might seem scary, but it’s easy to do with the right tools and some guidance. I’m going to show you how to safely and reliably test a fluorescent light ballast using a multimeter.
What is a Fluorescent Light Ballast?
A fluorescent light ballast is an essential component of any fluorescent lighting system. Its primary function is to regulate the current and voltage flowing to the fluorescent lamp, ensuring it operates safely and efficiently. Without a functioning ballast, the lamp would either fail to light or flicker continuously, causing a disruption in your lighting.
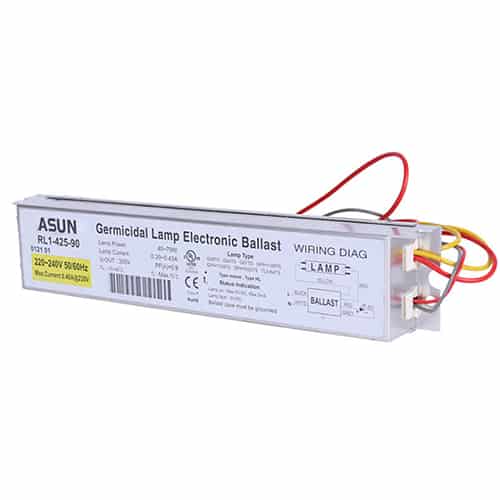
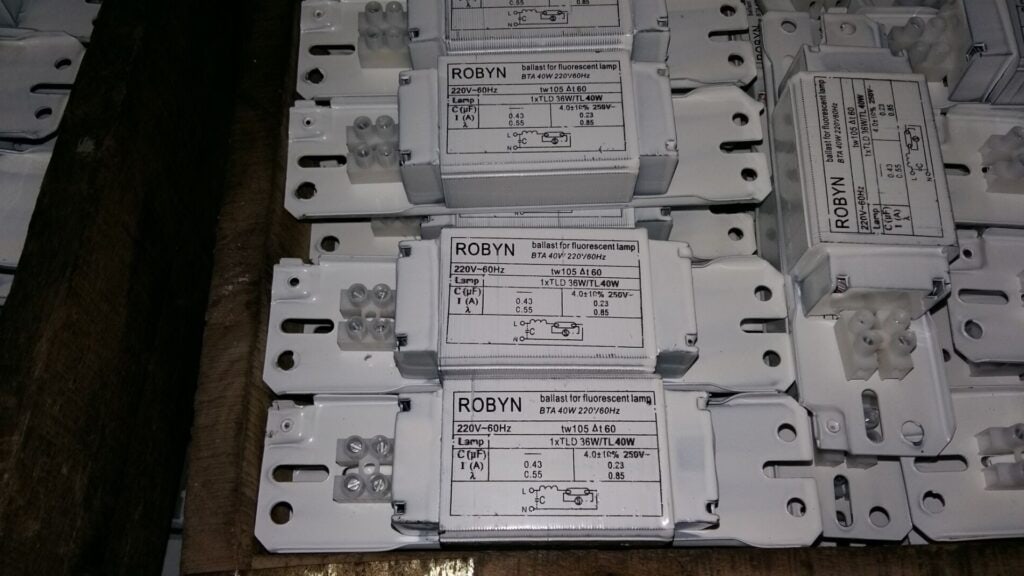
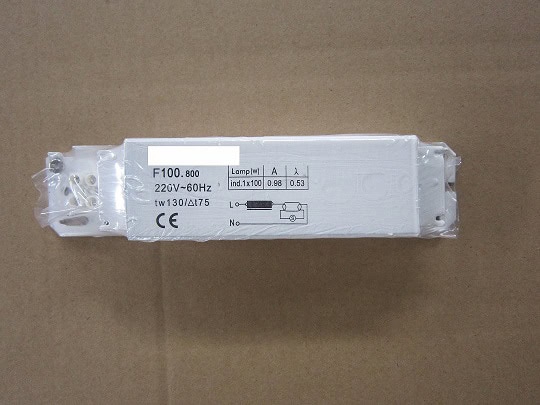
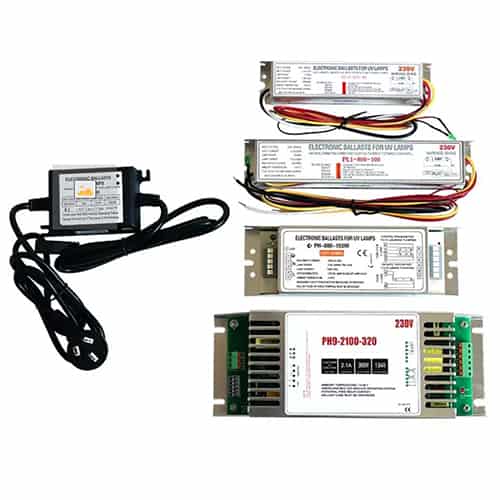
There are two types of ballasts: magnetic and electronic. Magnetic ballasts, the older type, are heavier and prone to buzzing and flickering over time. Electronic ballasts, on the other hand, are lighter, more energy-efficient, and produce less noise. Ballasts can fail for a variety of reasons, including overheating, age, or power surges. Testing a ballast is a key step in determining if it’s the source of lighting problems.
Safety First: Preparing to Test a Fluorescent Ballast
Before testing your ballast, it’s critical to follow proper safety procedures. First and foremost, turn off the power to the light fixture at the circuit breaker to avoid any risk of electric shock. It’s also wise to use insulated tools and gloves when handling electrical components. Even after turning off the power, give the ballast time to cool down, as it can retain heat for a while after use.
Next, double-check that there is no electrical power running to the fixture by using your multimeter. Set the multimeter to the correct mode (AC or DC depending on the ballast) and confirm it’s working properly before proceeding. By following these steps, you can safely access the ballast and begin testing.
Essential Tools for Ballast Testing
To test your fluorescent light ballast, you’ll need a few basic tools:
- Multimeter: Make sure it’s capable of testing resistance (ohms) and voltage.
- Screwdriver: To open the light fixture and access the ballast.
- Wire cutters: If necessary, to expose wires for testing.
While testing, it’s also helpful to have a replacement ballast ready, in case your tests confirm that the ballast is defective and needs to be swapped out.
Step-by-Step Process to Test a Fluorescent Ballast
Once you have your tools ready and have taken all necessary safety precautions, it’s time to test the ballast.
Step 1: Turn Off the Power
Go to your circuit breaker and turn off the power to the fixture you’re working on. Double-check that the power is off using your multimeter.
Step 2: Access the Ballast
Remove the fluorescent tube from the fixture and use a screwdriver to open the ballast compartment. You’ll find several wires connected to the ballast; these will need to be tested.
Step 3: Set the Multimeter
Set your multimeter to the “ohms” setting to measure resistance. This will help you check for continuity between the wires connected to the ballast. For magnetic ballasts, you want to test resistance, while for electronic ballasts, voltage readings will be your focus.
Step 4: Test the Ballast
For magnetic ballasts, place the multimeter probes on the wires. A high or infinite reading indicates that the ballast is faulty and not completing the circuit. For electronic ballasts, turn the power back on and test for the correct voltage output between the wires. If the multimeter shows no voltage or an inconsistent reading, the ballast is likely the issue.
Step 5: Analyze the Readings
A normal resistance reading will vary depending on the type of ballast, but a very high or infinite resistance usually indicates a faulty magnetic ballast. For electronic ballasts, a lack of proper voltage signals that the ballast needs to be replaced.

Diagnosing Common Fluorescent Ballast Issues
Understanding the signs of a failing ballast can help you diagnose the problem more effectively.
- Flickering lights: This is a common symptom of a failing ballast. It could indicate that the ballast is unable to regulate the current properly.
- Bulbs not lighting up: If the bulbs do not light, the ballast may be completely dead. You should also check for any wiring issues or problems with the voltage supply.
- Loud buzzing: A buzzing noise is another sign that the ballast is on its last legs. This happens more commonly with magnetic ballasts, which can produce noise as they age.
The solutions to these problems are straightforward. If the ballast is failing, replacing it with a new one is often the best course of action. You can also check for loose wires and secure them if necessary, ensuring a good connection between the ballast and the rest of the fixture.
Should You Repair or Replace Your Fluorescent Ballast?
One common question people have is whether they should repair or replace their ballast. In many cases, especially with older magnetic ballasts, replacement is the better option. Magnetic ballasts are less energy-efficient and tend to wear out faster than their electronic counterparts.
Electronic ballasts, which are more efficient and quieter, are a good replacement choice. If your current ballast is failing repeatedly or showing signs of wear, such as buzzing or flickering, it may be time to upgrade to an electronic ballast. These ballasts offer longer lifespans and can reduce energy consumption, saving you money in the long run.
Final Words:
Testing a fluorescent ballast with a multimeter is something simple you can do to avoid big lighting problems. Follow the steps in this article to diagnose and fix issues with your fluorescent lighting. If you take care of your fluorescent lights and replace them when you need to, they will take care of you for a long time.


