
If your fluorescent lights are flickering or not working at all, it’s probably time to replace the fluorescent ballast. Don’t pay an expensive professional to do it for you. Read this simple guide to learn how to do it yourself.
Replacing a 4-bulb ballast involves turning off the power, taking the fixture cover down, cutting wires, taking the old ballast down, wiring the new ballast, and securing it in place.
Follow this guide in order, and you’re going to be fine.
Step 1: Turn Off the Power
The first and most important step when working with any electrical component is ensuring that the power is completely off. Locate your home’s breaker box and turn off the breaker that controls the lighting circuit. Never rely solely on the light switch, as electricity can still flow through the wires even when the switch is off.
Once the breaker is off, use a voltage tester to double-check that no power is running to the fixture. Only when you are absolutely certain that the power is off should you begin working on the ballast. With safety assured, gather your tools: a screwdriver, wire stripper, wire nuts, and, of course, a new 4-bulb ballast that is compatible with your fixture.
Step 2: Remove the Light Fixture Cover
With the power off and your tools ready, the next step is to gain access to the ballast by removing the light fixture cover. This cover may be held in place with screws or clips, depending on the type of fixture you have. Using a screwdriver, carefully unscrew or unclip the cover, making sure not to damage it, especially if it’s fragile or made of plastic.
Once the cover is removed, you will see the fluorescent tubes and the ballast inside. This is a great opportunity to inspect the fluorescent tubes for any signs of damage or wear. Even if your ballast is the primary issue, old or flickering tubes may also need replacement to ensure long-term functionality.
Step 3: Remove the Fluorescent Tubes
Before you can replace the ballast, the fluorescent tubes need to be removed. Gently grasp each tube and twist it out of its socket. These tubes can be fragile, so handle them with care to prevent breaking. Once removed, place them in a safe location where they won’t roll off or be damaged while you’re working.
With the tubes out of the way, you’ll have clear access to the ballast and the wiring, making the next steps much easier to perform.
Step 4: Disconnect the Old Ballast
Now, it’s time to remove the faulty ballast. The ballast is typically secured to the fixture with screws or a mounting bracket. Using your screwdriver, remove the screws that are holding the ballast in place. Once it’s loose, you’ll notice several wires connected to the ballast. These wires are the power supply for the fixture and the ballast.
Using wire cutters, carefully cut the wires as close to the ballast as possible, leaving enough length on the fixture wires for easy reconnection later. Once the ballast is completely disconnected, dispose of it properly, particularly if it contains hazardous materials like PCBs. Many areas have specific regulations for the disposal of old ballasts, so be sure to follow local guidelines.
Step 5: Wire the New Ballast
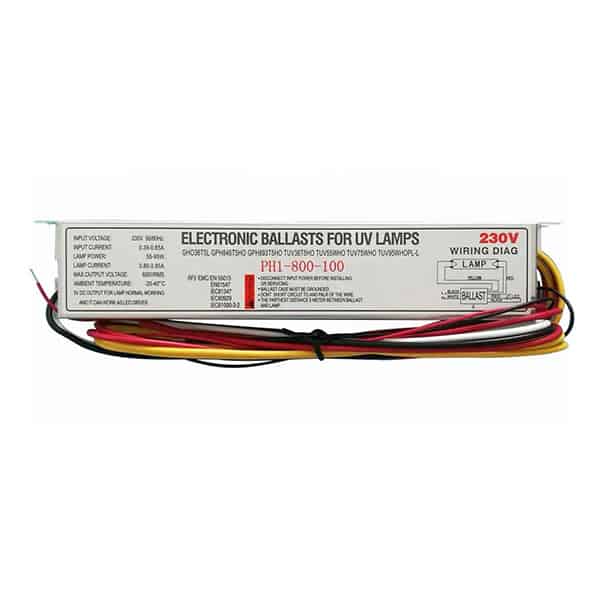
With the old ballast removed, you’re ready to install the new one. Take a moment to familiarize yourself with the wiring diagram on the new ballast. Most ballasts for a 4-bulb fixture will have multiple wires, including blue, red, yellow, and neutral wires. Each wire corresponds to a specific function, and it’s important to match them correctly.
Using a wire stripper, remove about ½ inch of insulation from the ends of the wires on both the fixture and the new ballast. Connect the matching wires by twisting them together and securing them with wire nuts. Make sure each connection is tight and secure to avoid future electrical issues. Proper wiring is crucial for the safety and longevity of the fixture.
Step 6: Mount the New Ballast
After the wiring is complete, it’s time to mount the new ballast in place. Position the new ballast where the old one was mounted, and use screws or the existing mounting bracket to secure it firmly. The ballast should fit snugly into the fixture without moving around.
Once the ballast is secured, double-check all the wiring connections to ensure that nothing is loose or incorrectly connected. This is your last chance to verify that everything is properly in place before reassembling the fixture.
Step 7: Reinstall the Fluorescent Tubes
With the new ballast installed and all wiring confirmed, it’s time to reinstall the fluorescent tubes. Carefully align each tube with its corresponding socket and twist it into place. Be gentle as you twist the tubes to avoid damaging the pins or the glass.
Once all the tubes are securely installed, take a moment to ensure that everything is in the correct position. A loose tube can cause flickering or other issues, so make sure each one is properly seated in its light socket.
Step 8: Test the Fixture
Now comes the moment of truth: testing your work. Head back to the breaker box and restore power to the lighting circuit. Return to the room and flip the light switch. If the lights come on smoothly without flickering, congratulations—you’ve successfully replaced the ballast!
If the lights don’t come on, or if they flicker, you may need to double-check the wiring connections inside the fixture. Make sure all wires are securely fastened and that the correct wires were matched during installation. In some cases, the problem could lie with the fluorescent tubes themselves, so be sure to inspect them if issues persist.
Final Words:
Replacing a 4-bulb ballast is a simple process. You need to pay attention to the details and make sure you are safe. You will save time and money and keep your lights burning bright.