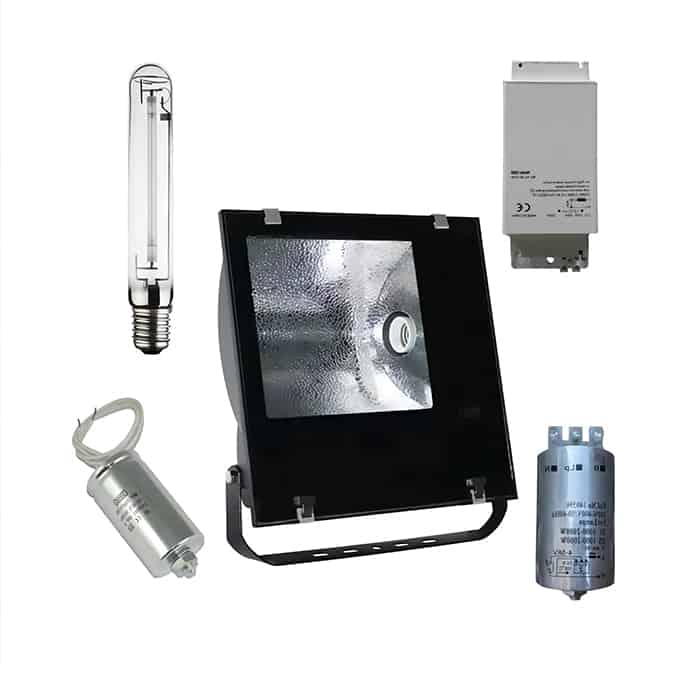
A lot of people have trouble wiring up a floodlight. You don’t want to mess this up and have an electrical problem or not get it right.
Wiring up a floodlight includes turning off the main power, hooking up the black, white, and ground wires, and making sure everything is tight. Use the right tools and be safe.
Let’s go through each of these steps.
Tools and Materials Required
Before you begin wiring your floodlight, it’s essential to gather the necessary tools and materials to ensure the process goes smoothly and safely. Whether you’re installing a new floodlight or replacing an old one, having everything on hand will make the job easier.
Tools Needed: To wire a floodlight, you’ll need a screwdriver, wire strippers, a voltage tester, wire nuts, electrical tape, and a sturdy ladder. The screwdriver helps to remove and secure the light fixture, while wire strippers ensure clean connections with the wiring. A voltage tester is crucial for confirming that the power is off before you start working with electrical wires.
Materials Needed: In terms of materials, you’ll need the floodlight fixture itself, wire connectors, and electrical wires (black for the hot wire, white for the neutral wire, and a green or bare wire for grounding). If your installation is outdoors, it’s also important to use weather-resistant electrical boxes and conduits to protect the wiring from exposure to rain and moisture.
Safety Precautions
Before handling any electrical work, taking proper safety precautions is a critical step. Failing to do so could lead to serious injury or even fatal accidents. Here are some important safety tips to follow.
Turn Off the Power: The first and most important safety step is to turn off the electricity to the area where you’re working. Locate the circuit breaker box and switch off the appropriate breaker. Even after turning off the breaker, use a voltage tester to ensure no power is running through the wires you’ll be working with.
Check Local Codes: It’s also essential to check your local electrical codes before starting the installation. This ensures your wiring job is up to code, avoiding potential fines or future issues. Electrical codes are in place to make sure installations are safe and efficient, particularly in outdoor environments where weatherproofing is necessary.
Removing the Old Fixture (If Applicable)
If you’re replacing an existing floodlight, the first step is to remove the old fixture carefully. This process requires some caution, but with the right steps, you can do it safely.
Disconnect the Old Fixture: Begin by unscrewing the old floodlight from its mounting bracket. Carefully remove the fixture without damaging the wiring, and ensure the wires are still exposed and intact. Label each wire if necessary to avoid confusion when connecting the new fixture. Typically, there will be a black (hot) wire, a white (neutral) wire, and a green or bare (ground) wire.
Inspect the Wiring: After removing the old fixture, inspect the wiring thoroughly. Look for signs of wear, fraying, or damage. If the wires are old or damaged, it’s best to consult a licensed electrician to either replace or repair the wiring before proceeding. Safe and reliable wiring is crucial for the new floodlight to function correctly and for your safety.
Connecting the Wires
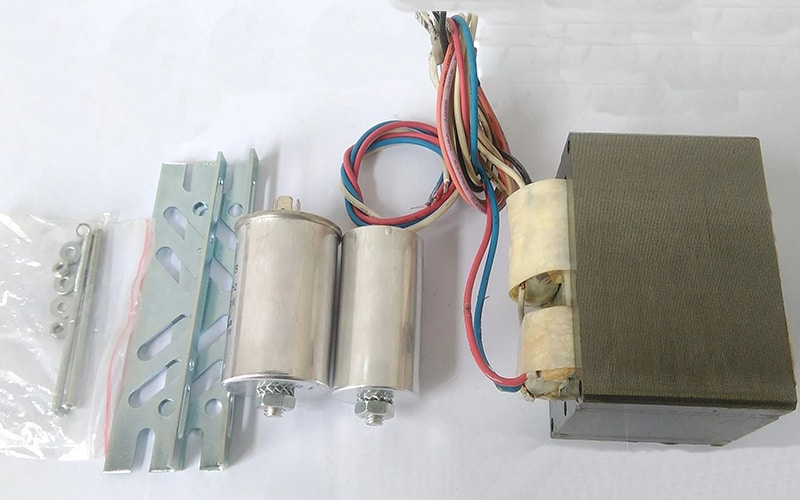
Wiring the floodlight properly is the most important step in the installation process. Ensuring that all connections are correct and secure is key to a safe and functional floodlight.
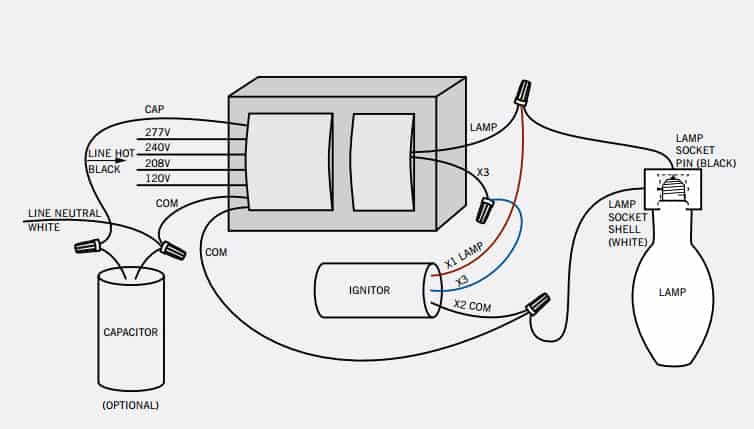
Identify the Wires: Most floodlights come with three wires: black (hot), white (neutral), and green or bare (ground). These wires need to be connected to the corresponding wires in your home’s electrical box. If the wire colors in your box differ, take extra care to match the connections correctly or consult the fixture’s instruction manual for guidance.
Connect the Wires: Start by connecting the black wire from the floodlight to the black wire from your electrical box. Use a wire nut to twist the two together, ensuring a firm connection. Next, connect the white wire from the fixture to the white wire from the electrical box using another wire nut. Finally, connect the green or bare wire (ground) from the floodlight to the ground wire from the electrical box. After securing all the connections with wire nuts, wrap electrical tape around the connections for added safety. Gently tug each connection to ensure they are secure.
Mounting the Floodlight
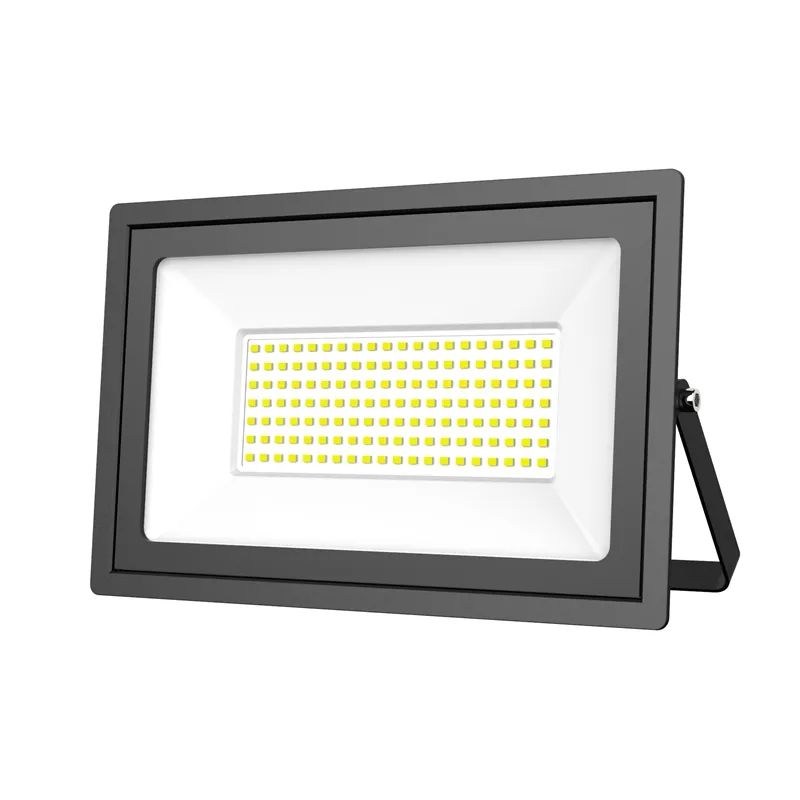
Once the wiring is completed, it’s time to mount the floodlight. Properly securing the fixture ensures that it remains stable and can withstand outdoor conditions.
Secure the Fixture: Attach the floodlight to its mounting bracket. Use the screws provided with the fixture to secure it tightly in place. Ensure the light is positioned correctly to illuminate the desired area. It’s important that the fixture is level and aligned properly, especially if it includes motion sensors or directional lighting features.
Weatherproofing: If the floodlight is being installed outdoors, weatherproofing is crucial. Make sure all wire connections are housed inside a weatherproof electrical box or use weather-resistant covers to protect the wiring from exposure to moisture, rain, or other elements. Outdoor floodlights should be specifically rated for exterior use to ensure durability and safety.

Testing the Floodlight
After completing the installation, the final step is to test the floodlight to ensure everything works as expected.
Turn the Power Back On: Once the floodlight is mounted and the wiring is secure, return to the breaker box and switch the circuit back on. Use a voltage tester to confirm that power is running to the floodlight before testing the fixture.
Test the Floodlight: Turn on the floodlight by flipping the switch or activating the motion sensor, depending on the model you have installed. If the floodlight doesn’t turn on immediately, double-check the wiring connections or consult an electrician if needed. Proper testing ensures that the light is wired correctly and functions as intended.

Common Wiring Mistakes to Avoid
When installing a floodlight, certain common mistakes can lead to issues either during installation or later on. Avoid these pitfalls for a smooth process and long-lasting results.
Loose Connections: One of the most common mistakes is not securing the wire connections tightly enough. Loose connections can lead to intermittent lighting, flickering, or even electrical shorts. To avoid this, ensure all connections are tightly secured with wire nuts and reinforced with electrical tape.
Incorrect Grounding: Skipping or improperly connecting the ground wire is another common mistake. The ground wire is a crucial safety feature that protects against electrical shock, especially in outdoor installations. Always ensure that the ground wire is properly connected to both the floodlight and the electrical box.
Following these steps will ensure that your floodlight is installed safely and functions reliably. Wiring a floodlight might seem complex, but with the right tools, materials, and attention to detail, you can complete this task efficiently and with confidence.

