If you wire an electronic ballast incorrectly, you can have poor light, short circuits, or even start a fire. You need to know the steps to wire an electronic ballast correctly to make sure you do it safely and effectively.
To wire an electronic ballast for fluorescent lights, turn off the power, remove the old ballast, then connect the wires on the new ballast using the color codes. Secure the ballast, put the fixture back together, and you’re done.
Now let’s talk about how to wire an electronic ballast for fluorescent lights step-by-step and discuss some common mistakes.
Understanding the Role of an Electronic Ballast
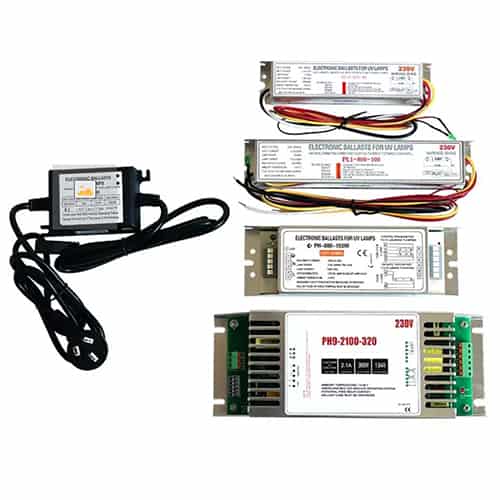
An electronic ballast is a key component in modern fluorescent lighting systems. It regulates the voltage and current that is supplied to the fluorescent lamps, ensuring that they operate efficiently. Unlike older magnetic ballasts, which rely on coiled wires and electromagnetic fields, electronic ballasts use solid-state components to control the current flow, resulting in more energy-efficient and stable performance.
Electronic ballasts also eliminate the common issues associated with magnetic ballasts, such as flickering and buzzing sounds. This makes them a preferred choice in both residential and commercial lighting installations. In addition, they help to extend the lifespan of the fluorescent tubes by providing a smoother start-up and more consistent power regulation.
Tools and Materials Required for Wiring an Electronic Ballast
Before starting the wiring process, it’s essential to gather the necessary tools and materials to ensure a smooth installation. You will need:
- Wire stripper: To remove the insulation from the ends of the wires.
- Screwdriver: To remove the fixture’s cover and secure the ballast.
- Voltage tester: To confirm that the power is off before handling any wires.
- Electrical tape: For insulating wire connections if needed.
- Wire connectors: To securely connect the wires.
- Electronic ballast: Ensure it is compatible with the specific fluorescent tubes and fixture.
- Proper wire gauge: Matching the gauge of the existing wires in the fixture.
Having these tools and materials ready will help avoid delays and ensure that the installation is completed efficiently.
Safety Precautions Before Starting the Wiring Process
Safety should always be the top priority when dealing with electrical work. Before you begin wiring the electronic ballast, turn off the power at the circuit breaker. This ensures that there is no live current flowing through the fixture while you are working on it. Use a voltage tester to double-check that the power is off by testing the wires in the fixture.
Additionally, wearing insulated gloves is recommended to further protect yourself from potential electrical shocks. It is also important to follow local electrical codes and regulations, as they may have specific requirements for installations that ensure both functionality and safety.
Step-by-Step Guide to Wiring an Electronic Ballast
Step 1: Disconnect Power and Remove the Old Ballast
The first step is to ensure the power is turned off at the circuit breaker. Once the power is off, carefully remove the fluorescent tubes and the cover of the light fixture to expose the old ballast. You will likely find several wires connected to the ballast, usually secured with wire connectors. Cut these wires close to the ballast to disconnect it from the fixture.
Step 2: Identify Wire Connections and Color Codes
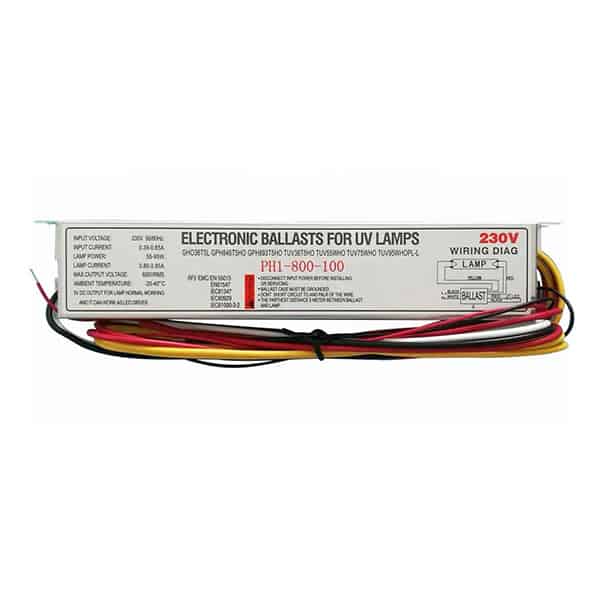
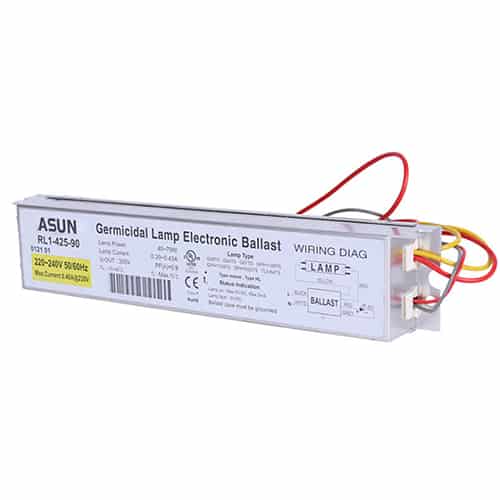
Electronic ballasts use specific color codes for wiring. Typically, the black wire is the live (or power) wire, the white wire is neutral, and the blue and red wires connect to the lamp sockets. Some ballasts may also have a green wire for grounding. It’s essential to familiarize yourself with these color codes to ensure correct connections later in the process. Refer to the wiring diagram provided with the ballast to confirm the exact wiring configuration.
Step 3: Connect the New Electronic Ballast
Take the new ballast and begin connecting the wires according to the color codes. Match the black (live) wire from the fixture to the black wire on the ballast and use a wire connector to join them securely. Do the same for the white (neutral) wires. Next, connect the blue and red wires from the ballast to the corresponding wires leading to the fluorescent lamp sockets. If the ballast includes a green ground wire, connect it to the fixture’s grounding point. Be sure all connections are tightly secured and well-insulated to prevent short circuits or loose connections.
Step 4: Secure the Ballast and Reassemble the Fixture
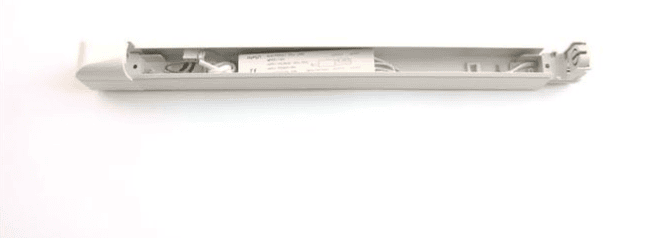
Once all the wires are properly connected, mount the ballast securely in the fixture using screws or mounting clips. Make sure it is firmly in place to prevent any vibrations or movement during operation. After securing the ballast, reinstall the fluorescent tubes and replace the fixture’s cover. Ensure that everything is properly aligned and tightly secured before turning the power back on.

Common Mistakes to Avoid When Wiring an Electronic Ballast
One of the most common mistakes people make during ballast wiring is failing to turn off the power at the breaker, which can lead to electric shock. Always double-check that the power is off before handling any wires. Another mistake is misconnecting the wires. Mixing up the live and neutral wires or improperly connecting the wires to the lamp sockets can result in the ballast or lamps malfunctioning. Always follow the wiring diagram and match the color codes to avoid these issues.
Another common error is neglecting to secure the ballast properly within the fixture. If the ballast is loose, it can cause noise or even damage the fixture over time. Ensure the ballast is mounted tightly in place for optimal performance and safety.
Testing the Installation
After wiring the new ballast and securing everything in place, it’s time to test the installation. Turn the power back on at the circuit breaker and switch on the light. The fluorescent lamps should light up smoothly without flickering or buzzing. If the lights don’t turn on, check the wiring connections to ensure they are correctly matched and securely fastened. If the lights flicker or don’t light up fully, this could indicate a loose wire or a faulty connection.
In case of any issues, turn the power off again and inspect the connections, ensuring that everything is secure and properly connected according to the wiring diagram. Addressing any wiring issues early will help avoid future problems and ensure the longevity of the ballast and lamps.
Final Words:
Wiring an electronic ballast for fluorescent lights is a pretty simple process as long as you know the steps and take the proper safety precautions. When you understand the role of the ballast, have the right tools and follow a simple step-by-step guide, you will be able to install the ballast correctly. Properly wiring the ballast will not only give you better light, but it will also make your fluorescent lights last longer.


