Wiring a 4-tube ballast to a 2-tube fixture can be confusing if you don’t know how to connect the wires. If you wire it wrong, you can make a bad connection, have your lights not work as well, or even damage your light. You need to understand how to wire it correctly to make a 4-tube ballast work in a 2-tube fixture.
To wire a 4-tube ballast to a 2-tube fixture, you need to connect the wires for the two lamps in the fixture and then safely cap off the wires for the other two lamps. Let me walk you through the process step-by-step.
What is a Ballast and Why It’s Important for Fluorescent Fixtures?
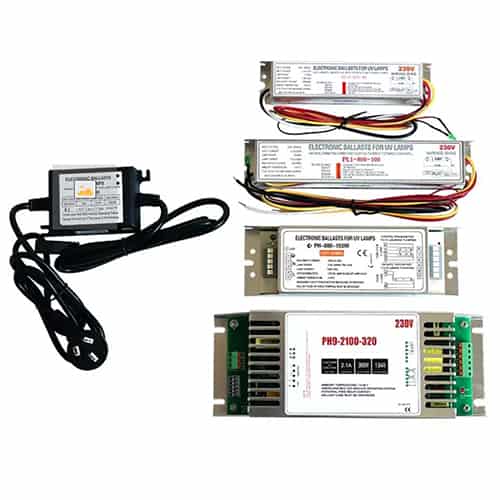
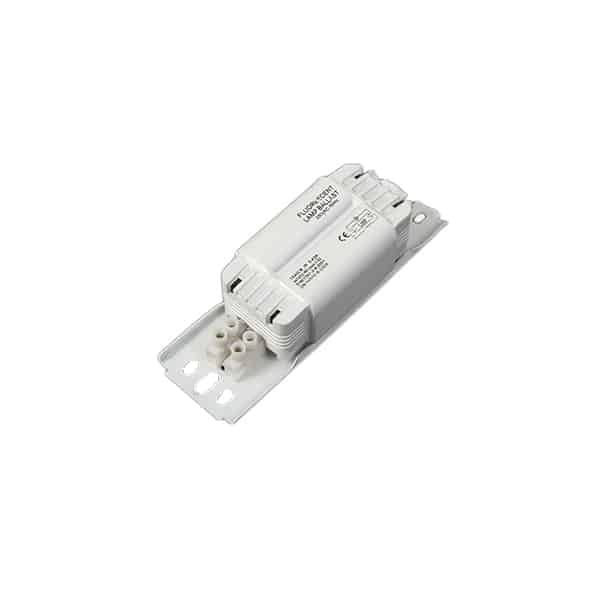
A light ballast is a critical component in fluorescent lighting systems. Its primary function is to regulate the electrical current flowing to the lamps, ensuring they receive the correct voltage to start and operate properly. Without a ballast, fluorescent lamps would draw too much current, leading to overheating, rapid burnout, or even electrical hazards.
In a typical fluorescent lighting setup, ballasts come in configurations that match the number of tubes in the fixture. A 4-tube ballast is designed to power four fluorescent lamps, while a 2-tube ballast powers two. However, it’s possible to wire a 4-tube ballast for use in a 2-tube fixture by adapting the connections to suit the smaller load.
Can You Use a 4-Tube Ballast in a 2-Tube Fixture?
Yes, a 4-tube ballast can be used in a 2-tube fixture with the correct wiring adjustments. The role of the ballast remains the same: it regulates current flow to ensure proper lighting. However, when using a 4-tube ballast with only two tubes, you need to adjust the wiring to only power the two active lamps and safely handle the extra wires meant for the additional tubes. This requires careful planning to ensure that the wiring is correct and that the unused wires are capped off properly.
Tools and Materials Required
Before starting the wiring process, make sure you have the right tools and materials on hand:
- Wire stripper: To remove insulation from the wires.
- Screwdriver: To remove and secure components.
- Voltage tester: To check if the power is off.
- Wire nuts: For connecting and securing the wires.
- Electrical tape: To insulate any exposed wire.
- 4-tube ballast: Ensure it is compatible with your fixture.
- Insulated gloves: For safety while working with electrical components.
Having these tools ready will ensure a smooth installation process and prevent any delays or hazards.
Safety Precautions Before Starting
Safety should always be your top priority when working with electrical systems. Before beginning, turn off the power at the breaker box to ensure no electricity is flowing to the fixture. Once the power is off, use a voltage tester to double-check that the wires are not live. This simple step can prevent electric shock or injury.
Additionally, it’s a good idea to wear insulated gloves and follow local electrical codes. Improper wiring can pose serious risks, including electrical fires or short circuits, so it’s crucial to take every safety precaution.
Step-by-Step Guide to Wiring a 4-Tube Ballast to a 2-Tube Fixture
Step 1: Turn Off Power and Remove the Old Ballast
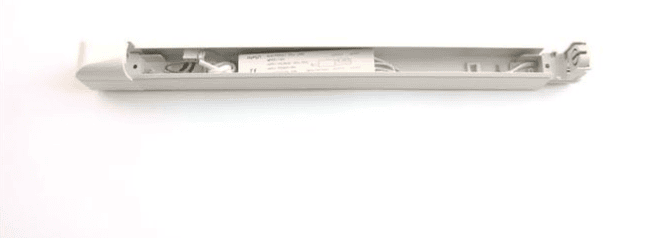
Start by turning off the power at the circuit breaker. Once you’re sure the power is off, remove the fluorescent tubes from the fixture and take off the cover to expose the wiring and the old ballast. Carefully disconnect the old ballast by cutting or loosening the wire connections.
Step 2: Identify the Correct Wiring Connections
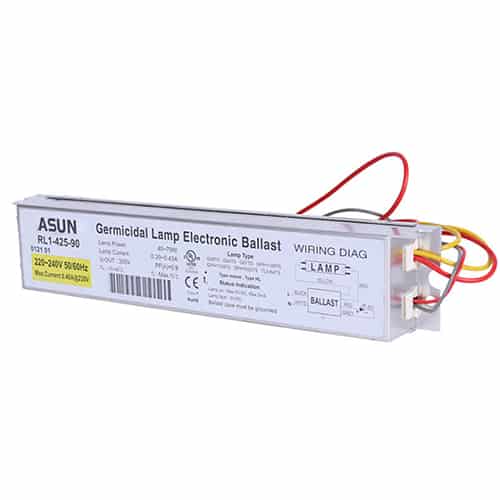
Now that the old ballast is removed, identify the wiring connections on your 4-tube ballast. Typically, a 4-tube ballast will have wires for two pairs of lamps, with color-coded wires representing power (black), neutral (white), and separate wires for each lamp (commonly red, blue, and yellow). In this case, you’ll be using the connections for just two of the lamps. Consult the ballast wiring diagram to identify which wires correspond to the first two lamps in the setup.
Step 3: Connect the Correct Wires to the Lamps
Using wire nuts, connect the wires from the 4-tube ballast to the appropriate wires for the two lamps in the fixture. Typically, you’ll connect the black (power) and white (neutral) wires as usual. For the lamp connections, you may use the red or blue wires (depending on the ballast) for the two lamps. Make sure to cap off the unused wires meant for the other two lamps. These unused wires must be properly insulated and capped to avoid electrical hazards.
Step 4: Secure the Wires and Ballast
Once the connections are made, ensure the wire nuts are tightly secured, and wrap any exposed wire with electrical tape if necessary. Mount the new ballast inside the fixture, securing it with screws or mounting clips. Double-check that all connections are solid and that there are no loose wires or open connections.
Step 5: Reassemble the Fixture and Test the Lights
After the ballast is securely mounted and the wires are properly connected, reassemble the fixture by replacing the cover and fluorescent tubes. Restore power at the breaker box and test the lights by turning them on. If the wiring is correct, both tubes should light up without any flickering or issues. If they don’t work as expected, turn off the power and recheck the connections to ensure they are correct and secure.
Common Mistakes to Avoid
When wiring a 4-tube ballast to a 2-tube fixture, there are a few common mistakes to avoid:
- Incorrect wire connections: Be sure to follow the ballast wiring diagram carefully. Connecting the wrong wires could result in the fixture not working or even damage to the ballast or lamps.
- Failing to cap off unused wires: It’s important to properly insulate and cap off the wires meant for the unused tubes to prevent electrical shorts or fires.
- Not securing the ballast: An unsecured ballast can move around inside the fixture, causing noise, damage, or improper operation. Always ensure it’s securely mounted.
When to Call a Professional Electrician
If you encounter issues with wiring or feel uncomfortable working with electrical systems, it’s best to call a licensed electrician. They can ensure the wiring is done correctly and in accordance with local electrical codes. Additionally, if the fixture still doesn’t work after testing the wiring, an electrician can troubleshoot the problem and resolve any issues safely.
Final Words:
Wiring a 4-tube ballast to a 2-tube fixture is pretty easy if you follow the proper steps. You connect the wires for two tubes, and then you safely cap off the wires you don’t use. Always remember to turn off the power and follow the proper wiring procedures to make sure your lighting system works well and is safe.


