If your ballast goes out, it can affect the growth of your plants. Fixing or replacing the lamp ballast will fix this problem.
To fix a ballast, you need to figure out what’s wrong. Common problems include wiring problems, blown capacitors, or a bad ignitor. You replace or repair these parts to make the ballast work.
Here are the steps to troubleshoot and fix your ballast to get your grow lights working right.
Can a Grow Light Ballast Be Repaired?
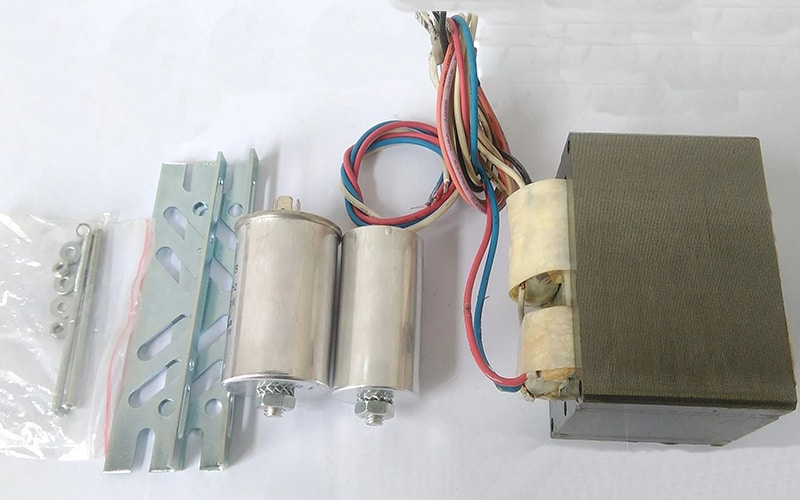
Yes, many grow light ballasts can be repaired, especially when the damage is limited to replaceable parts like capacitors or ignitors. These components are relatively inexpensive and can be swapped out without needing to replace the entire unit. The key to a successful repair lies in diagnosing the correct issue and using appropriate replacement parts.
However, extensive damage may make repairs unfeasible. In these cases, the cost of repairs can sometimes outweigh the price of a new ballast. If major components like the transformer are damaged, it’s often more economical to replace the ballast rather than repair it.
Common Causes of Ballast Failure
Ballasts fail due to various reasons, with heat being the most common culprit. Overheating can degrade internal components, causing them to malfunction. This can happen when the ballast is placed in an area with poor ventilation or exposed to excessive heat from other equipment.
Electrical surges are another common cause of ballast failure. Surges can damage sensitive internal circuits, leading to immediate or gradual failures. Additionally, wear and tear over time, especially in magnetic ballasts, can cause parts like capacitors to fail.
How to Diagnose a Broken Ballast
Diagnosing a broken grow light ballast starts with visual inspection. Look for signs of damage such as burnt marks, broken wiring, or bulging capacitors. If nothing is visible, a multimeter can help test for continuity and electrical faults.
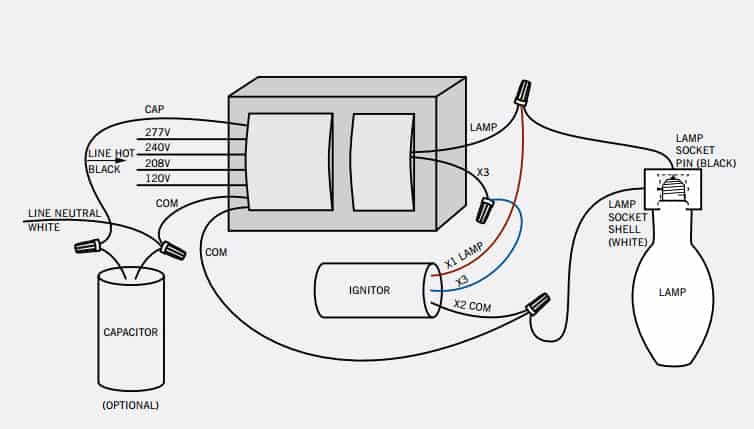
Start by checking the input and output voltage to ensure it matches the ballast’s specifications. Then, test the continuity of the wiring and key components, such as the capacitor and ignitor, to ensure they are functioning properly. A lack of continuity often indicates a broken part that needs replacing.
How to Troubleshoot a Ballast
Ballast troubleshooting involves systematic checks. First, ensure that the power source is working correctly. Then, move to the wiring—make sure all connections are tight and not frayed. After confirming the wiring, inspect the ballast’s key components like the capacitor and ignitor.
Using a multimeter, check for continuity in the wiring, capacitor, and ignitor. Faulty components often show no continuity or abnormal resistance, indicating they need to be replaced. If all components check out, the transformer may be the issue, which could require replacing the entire ballast.
Is Replacing a Ballast Worth It?
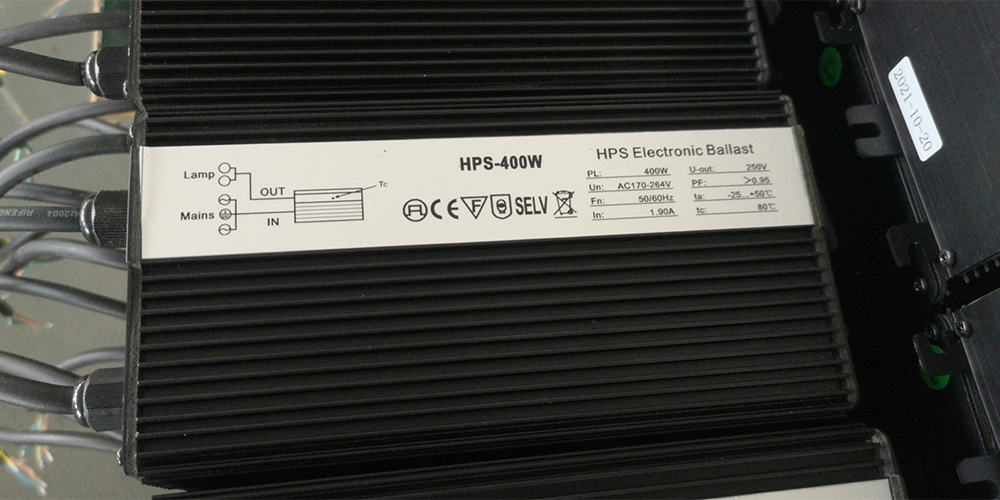
Replacing a grow light ballast can be worth it, especially if the existing ballast is old or inefficient. Newer ballasts, particularly electronic ones, offer better energy efficiency and cooler operation, which can extend the life of your grow lights and save on electricity costs.
In some cases, the cost of repairing older magnetic ballasts outweighs the benefits. Electronic ballasts provide more stable voltage regulation, reduce flickering, and allow for smoother operation, making them a worthwhile investment for most grow light systems.
Lifespan of a Grow Light Ballast
The lifespan of a grow light ballast varies depending on its type. Magnetic ballasts can last anywhere from 10 to 15 years if properly maintained, while electronic ballasts have a shorter lifespan of around 5 to 10 years.
Regular maintenance can extend a ballast’s life, such as cleaning dust buildup and ensuring proper ventilation. However, components like capacitors tend to degrade over time, even with proper care, and may require periodic replacement to maintain optimal performance.
Symptoms of a Dying Ballast
A dying ballast exhibits several noticeable symptoms. These include flickering lights, buzzing sounds, and delayed start-up times. If your grow light flickers or takes longer than usual to power on, the ballast is likely struggling to regulate the electrical flow.
Excessive heat can also indicate a failing ballast. If it becomes unusually hot to the touch or smells burnt, the internal components may be failing, and the ballast needs immediate attention to prevent further damage.
Can a Grow Light Work Without a Ballast?
No, a grow light using high-intensity discharge (HID) lamps like metal halide or high-pressure sodium requires a ballast to function. The ballast regulates the voltage and current to the lamp, ensuring it starts and operates safely.
Without a ballast, the grow light will not start, and even if it does, it may overheat or burn out quickly. The ballast acts as a critical safety device that ensures the proper operation and longevity of the grow light.
How to Test Ballast Components
Testing ballast components involves using a multimeter to check the continuity and resistance of the internal parts. Start by turning off the power and disconnecting the ballast. Test the capacitor first—if there’s no continuity, the capacitor needs replacement.
Next, test the ignitor and transformer. The transformer should have a specific resistance value based on the ballast’s manual, while the ignitor should either show continuity or specific resistance, depending on its type. Replace any components that fail the continuity test.
Steps to Fix a Grow Light Ballast
- Turn off the power: Ensure the grow light system is powered off and unplugged to prevent electric shock.
- Inspect for visible damage: Look for burned components, blown fuses, or loose wiring that could indicate the problem.
- Test the capacitor and ignitor: Use a multimeter to check the continuity of the capacitor and ignitor. Replace them if they show no continuity.
- Replace faulty parts: Once the faulty components have been identified, replace them with compatible parts from the manufacturer.
- Reassemble and test: After replacing the components, reassemble the ballast and test the system to ensure everything is functioning correctly.
Final Words:
If you have a problem with your grow light ballast, you need to diagnose the problem, replace the bad parts, and test the system. If you perform regular maintenance, you can make your ballast last longer and keep your grow lights working efficiently.

